

Professional Thermoforming Die Making Equipments - A Complete Guide for Manufacturers
2026-08-25
Every millimeter counts when you're pushing thermoforming dies to their limits. While most manufacturers focus on the final product, the real advantage lies in the equipment that shapes it. From high-speed rotary stations to precision-matched tooling, professional thermoforming die making equipment separates repeatable success from costly trial-and-error. At ADEWO, we've seen how the right die-making setup can slash setup times and unlock geometries that were once considered too complex. This guide breaks down the machine types, critical tolerances, and workflow decisions that actually move the needle—so you can build dies that perform as well on the thousandth cycle as they do on the first.
Why Most Thermoforming Shops Overlook Temperature Control in Die Making
Walk through any thermoforming facility and you'll hear plenty about vacuum pressure, plug assist timing, and material gauge. What rarely comes up in those floor conversations is the thermal profile of the die itself. Most shops treat die temperature as a background condition, something that happens to settle wherever it settles after a few cycles. The assumption is that if the sheet is hot enough and the mold is cool enough to set the part, everything else will take care of itself. That thinking misses a fundamental truth: the die is never thermally neutral, and ignoring its heat flow quietly eats into repeatability, cycle time, and part quality.
One reason this blind spot persists is that temperature control in die making gets treated as a molding problem, not a tooling problem. When parts come out warped or with uneven wall thickness, the production team adjusts the oven zones or the cooling fans. The die itself is considered finished once it leaves the machine shop. Yet the placement of water lines, the choice between aluminum and steel, and the isolation of insert pockets all shape how heat moves through the tool during forming. Because those decisions happen early in the design phase—often before anyone has seen a single sample—they rarely get revisited unless something fails dramatically. And when failures are gradual, like a 3 percent rise in reject rate over six months, the connection to die temperature stays invisible.
There's also a cultural inertia that rewards visible fixes over invisible ones. A new plug design or a redesigned trim fixture shows up as a tangible change on the shop floor. Reworking internal cooling channels or adding thermal breaks in a die tends to happen only during a major retool. The irony is that most thermoforming shops already collect enough data to see the problem—cycle logs, infrared spot checks, part weight trends—but they lack the habit of reading that data through the lens of die temperature. Once that lens is in place, the overlooked becomes obvious, and the fixes tend to be cheaper and faster than anyone expected.
The Hidden Costs of Manual Finishing on Mold Cavities
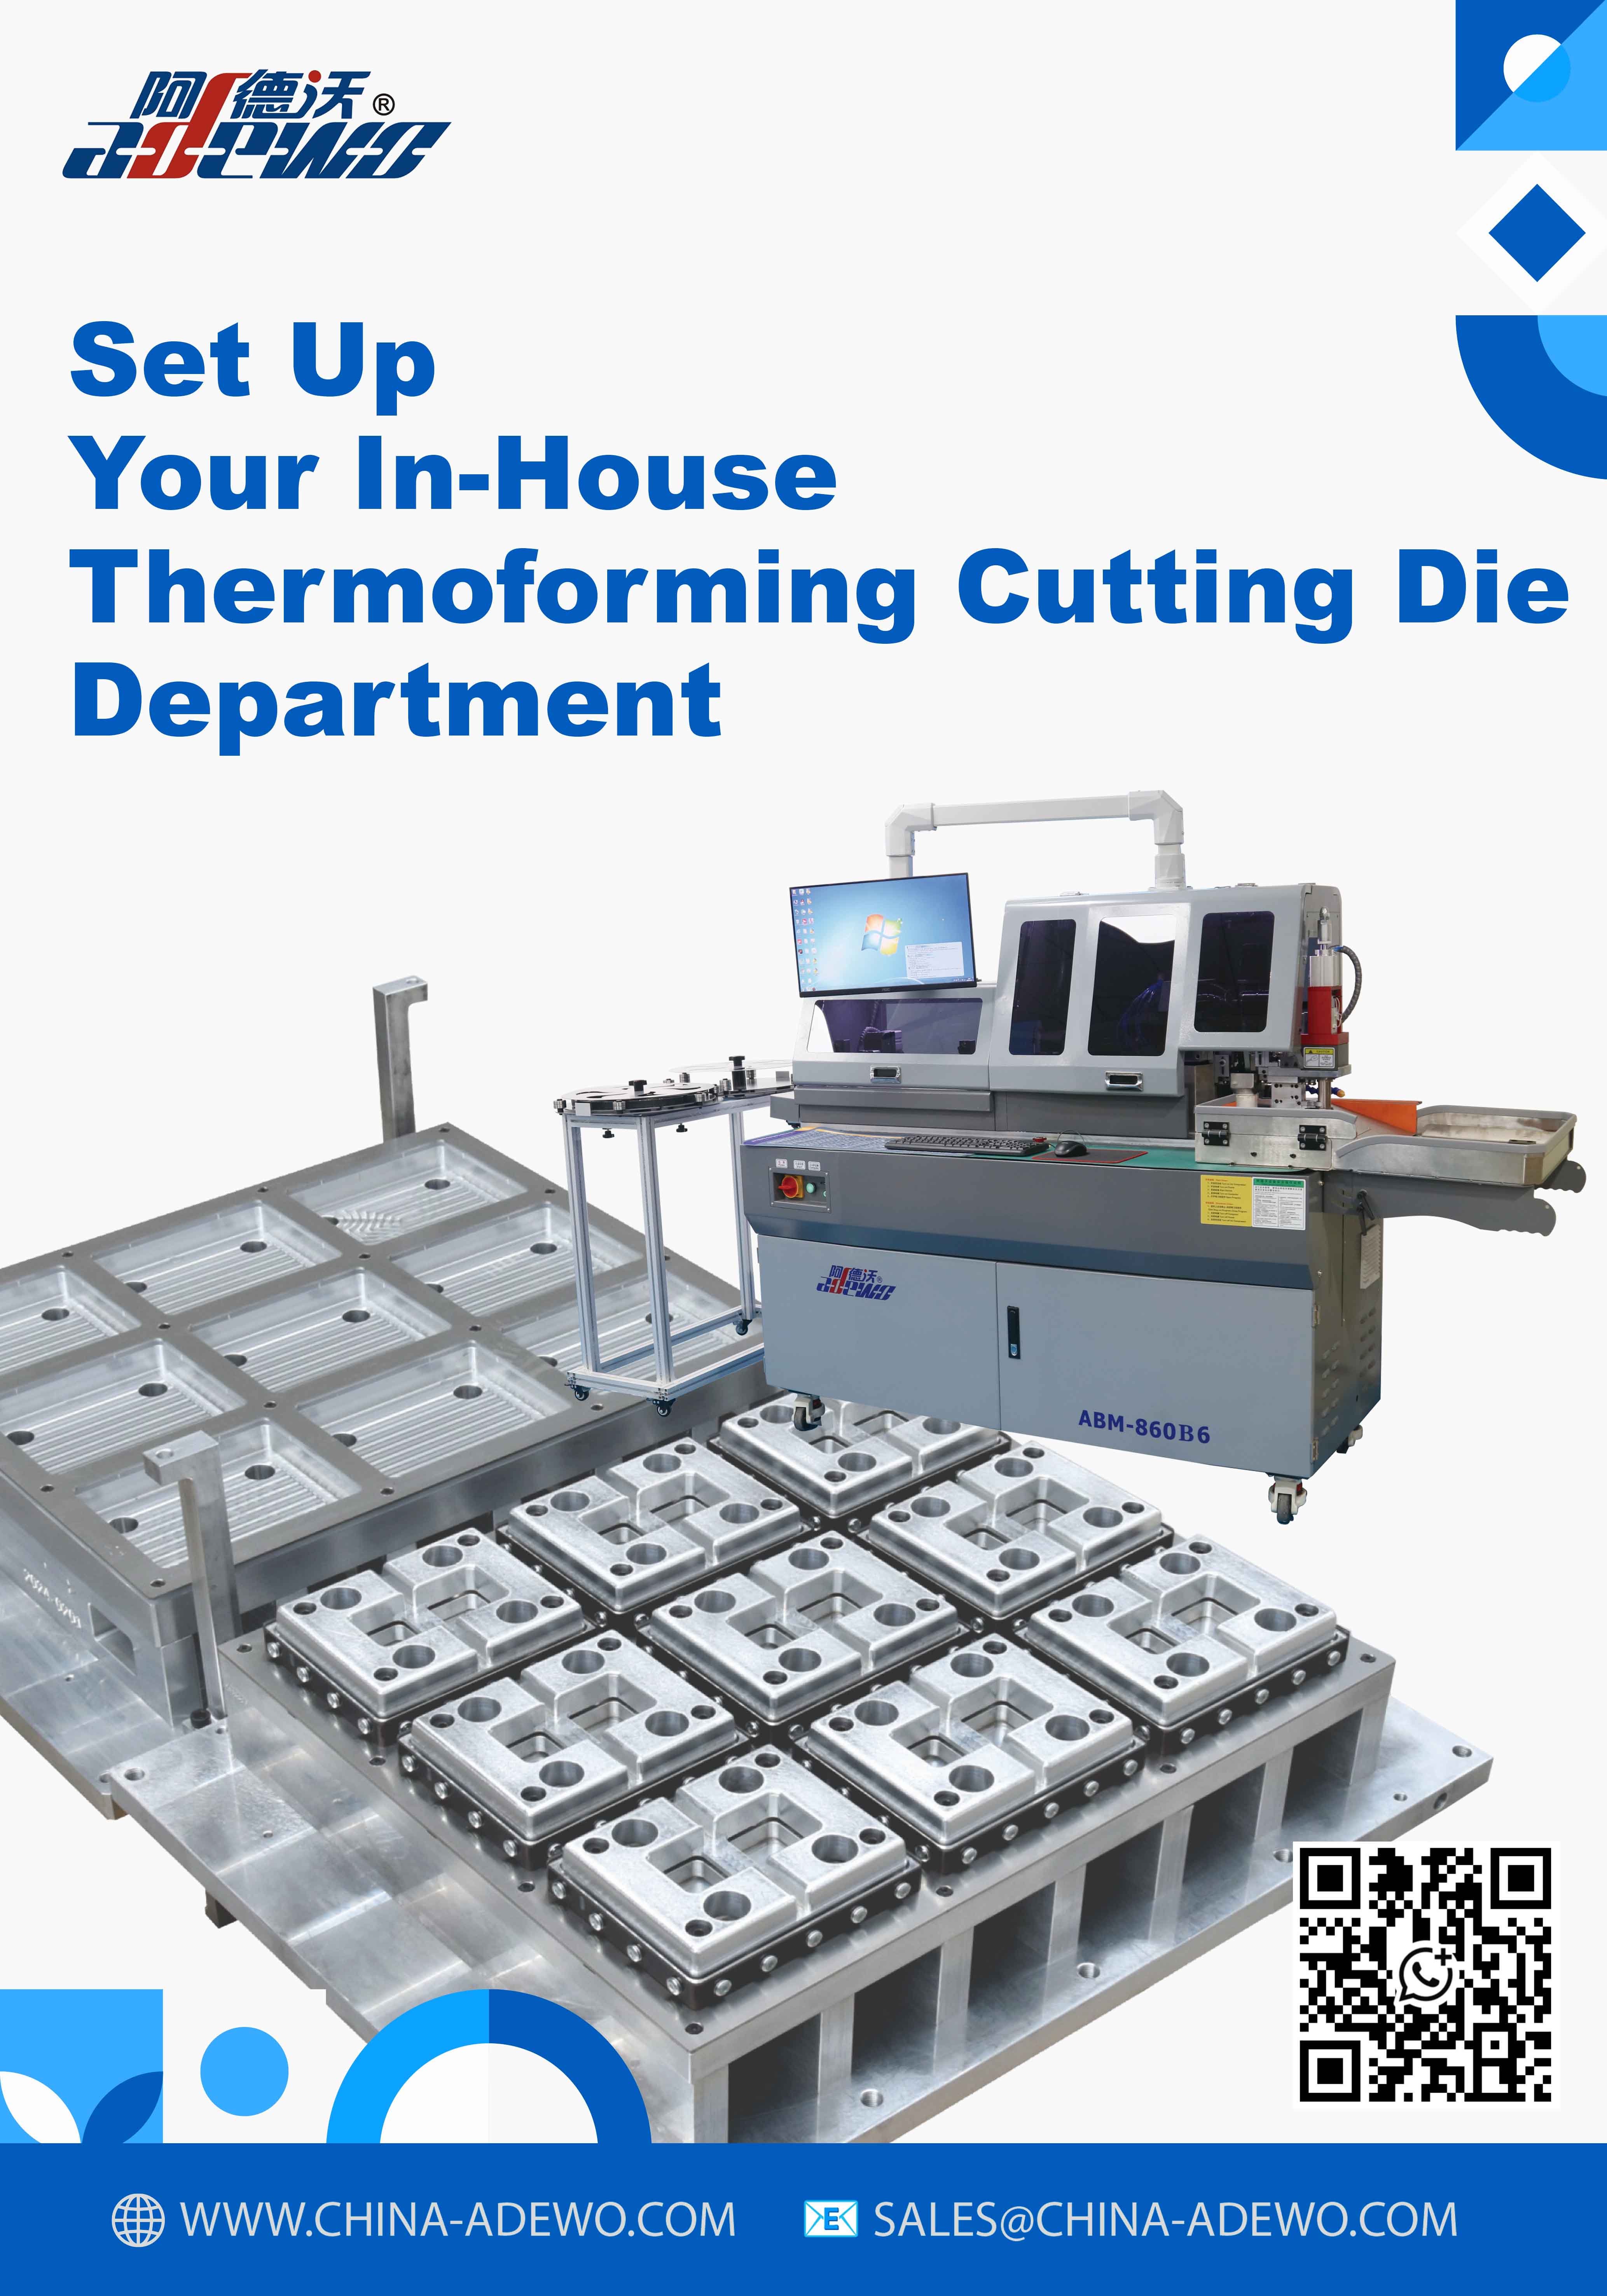
Many mold shops treat hand polishing as a given step, but few ever tally what it actually costs beyond the hourly wage. A single cavity might swallow dozens of hours of filing, stoning, and diamond polishing—time that could otherwise go into cutting the next job or setting up lights-out machining. That labor isn't just line-item expense; it's often unbudgeted, unpredictable, and rarely fully recovered in the quote.
Beyond the clock, manual finishing introduces variability that quietly erodes profit. Two finishers can produce different surface finishes on identical cavities, leading to rejected parts, rework loops, or premature tool wear downstream. Every extra pass with a stone risks dubbing an edge or washing out a sharp corner, which then requires welding or scrapping the insert. Those corrections carry their own hidden price: machine downtime, lost material, and the erosion of customer trust when delivery dates slip.
Perhaps the deepest cost is the dependency it creates. Skilled finishers are hard to find and harder to replace, and their absence can stall an entire project. Meanwhile, automation and better machining strategies could eliminate much of that handwork, but the initial investment is often delayed because the true burden of manual finishing is never measured. Until shops calculate the full cost—labor, scrap, rework, scheduling chaos—the hidden drain on mold cavities will keep compounding.
Choosing Between Aluminum and Steel Dies Without Guesswork
Start with the job’s geometry and the metal you’re cutting. Aluminum tooling handles thin gauges and short-to-medium runs well, especially when you need a quick turnaround or frequent design tweaks. Steel dies earn their keep on high-strength materials, complex forms, and production volumes where the upfront cost spreads thin over hundreds of thousands of hits.
Look at your real cost per part, not just the die price. Aluminum often costs less to machine and modify, but it wears faster and can struggle with burr control on abrasive stock. Steel demands more upfront and longer lead times, yet its hardness holds tight tolerances longer and reduces downtime for resharpening. Match that trade-off to your actual run length and tolerance stack instead of relying on a default material choice.
Finally, test the water before diving in. A short pilot run with aluminum can expose forming issues cheaply before you commit to steel for full production. If your volumes sit in the middle, a hybrid approach—steel inserts in an aluminum body—often removes the guesswork and balances both worlds.
Vacuum Hole Placement Errors That Ruin Thin-Gauge Parts
One of the most common mistakes is placing vacuum holes too close to the part edge. With thin-gauge materials, this creates a severe pressure gradient that pulls the sheet unevenly, causing wrinkling or outright tearing along the perimeter. Many machinists overlook that the hole’s influence zone extends beyond its physical diameter, so what looks like a safe margin on paper often ends up distorting the flange during the draw.
Another frequent issue is distributing holes in a symmetrical grid that ignores the part’s geometry. Thin sections over deep cavities need more localized hold-down force, yet a uniform pattern starves these regions while oversupplying flat areas. The result is oil-canning in the middle of the panel or sudden slippage that shifts the blank mid-cycle, ruining surface finish and dimensional accuracy.
Finally, oversized holes are just as harmful as too many holes. The larger the opening, the more the thin sheet gets sucked into the channel, leaving visible dimples even before forming starts. Replacing a few correctly sized holes with one large one to save drilling time is a classic shortcut that backfires on gauges under 0.8 mm, where every imperfection telegraphs straight through to the final part.
A Practical Look at Hybrid Die Construction: When to Combine Steel and Aluminum
Mixing steel and aluminum in one die set isn't about chasing novelty—it's about putting the right material in the right place. Steel holds up under brutal wear along cutting edges and high-stress forming areas, while aluminum sheds weight and speeds up handling everywhere else. The trick lies in reading the part geometry and production volume before committing: if a long-run job only pounds a small section of the tool, that section gets steel, and the rest becomes aluminum. Done well, the die feels lighter on the press, tool changes get quicker, and you're not paying for carbide-grade toughness where it never gets used.
Thermal behavior often decides whether a hybrid setup makes sense. Steel and aluminum expand at different rates, so a die that runs hot in one zone and cool in another can pull itself out of alignment if you ignore this. Smart builders either isolate the steel inserts with small clearances or position them so their expansion travels in a harmless direction. Another practical approach is to use aluminum only for guide plates, strippers, and non-cutting retainers—parts that see moderate loads and benefit most from the weight reduction—while keeping all forming and cutting edges in steel. That way you avoid the classic mistake of a beautifully light die that loses its edge after a few thousand hits.
Maintenance also shifts once you combine materials. Aluminum scratches and dents more easily, so rough handling on the bench becomes a real concern. But many shops find the trade-off worthwhile: a steel-and-aluminum die can weigh forty percent less than an all-steel version, and that matters when an operator lifts it in and out of a press several times a shift. The key is to design the aluminum sections with thicker walls and simple shapes that resist deformation, then let the steel do the punishing work. When the job runs smoothly and tool changes stop eating up the afternoon, the hybrid choice stops looking like a compromise and starts looking like plain common sense.
How to Build a Die Maintenance Schedule That Prevents Downtime
A schedule that actually prevents downtime starts with real die history, not a generic calendar. Pull the last twelve months of press logs and highlight every unplanned stop tied to galling, chipping, or misalignment. Group failures by die section and assign a wear rating to each. That rating, not the days since last service, becomes your trigger for pulling a die.
Next, map each maintenance task to a measurable condition instead of a fixed interval. For cutting edges, record burr height at the end of each run; for forming sections, track surface roughness on high-pressure zones. When a die reaches its pre-set threshold, it gets pulled during the next planned tool change window. This keeps work out of peak production and prevents the scramble that follows a snapped punch.
Finally, build the schedule around your actual press loading, not an ideal week. If you run aluminum one shift and high-strength steel the next, the same die wears at different rates. Update wear ratings after each run using a simple 1-to-5 score from the operator. Within two months, you will see patterns that let you move from reactive repairs to short, predictable services that happen before the die forces your hand.
FAQ
You'll need a robust CNC machining center for shaping aluminum or epoxy tooling, a drill press or tapping arm for threaded inserts, and a temperature-controlled oven for curing composite dies. A granite surface plate and height gauge are also non-negotiable for verifying flatness and critical dimensions before the die goes into production.
Aluminum works best for long runs and fine detail because it dissipates heat evenly and can hold tight tolerances. Composite or epoxy tooling makes sense for prototypes or low-volume jobs where cost and speed matter more than longevity. The decision hinges on expected cycle count, part geometry, and your shop's machining capacity.
It maintains uniform die surface temperature during both the curing of composite materials and the actual forming process. Without precise control, you risk warping, uneven material distribution, and premature die wear. A good controller lets you ramp up and hold specific temperatures, which is critical for achieving consistent wall thickness in formed parts.
Five-axis machining lets you approach undercuts, deep cavities, and contoured parting lines without repositioning the workpiece multiple times. That reduces setup errors and produces smoother surfaces that need less hand finishing. For dies with intricate geometry, it's often the difference between a seamless finish and hours of manual polishing.
Sanding and polishing are mandatory to eliminate tool marks that would transfer to every formed part. After machining, a progressive grit sequence followed by a fine abrasive paste brings the die surface to a near-mirror finish. Some shops also apply a release coating or hard anodizing to extend die life and ease part removal.
One effective approach is to standardize die bases and use modular inserts for interchangeable product features. Investing in high-speed machining and offline programming also trims hours from the process. Another often-overlooked step is keeping a well-organized tooling library with pre-set fixtures, so setup times drop dramatically.
Daily cleaning of chips and coolant residue, weekly checks of spindle runout and way covers, and monthly calibration of temperature sensors go a long way. For CNC machines, scheduled lubrication and prompt replacement of worn cutting tools prevent unexpected downtime. A simple logbook tracking these tasks helps identify patterns before they become failures.
Conclusion
Many thermoforming operations still treat die temperature as an afterthought, yet uneven heat distribution quietly distorts part geometry and shortens tool life. The guide examines why shops skip proper thermal control in die making and how that choice feeds into larger problems. Manual finishing of mold cavities is another area where labor hours accumulate without obvious returns; hand polishing and deburring hide inconsistencies that later show up as surface defects. When selecting between aluminum and steel dies, the text urges manufacturers to move beyond habit or upfront cost, weighing production volume, material abrasiveness, and cycle time expectations instead of guessing.
Vacuum hole placement is frequently underestimated until thin-gauge sheets begin to tear or warp, and the guide details the common errors that lead to ruined parts. For shops that handle diverse product lines, hybrid die construction offers a middle path, combining steel inserts in high-wear zones with aluminum bodies to balance durability and thermal response. The final section lays out a straightforward die maintenance schedule that includes inspection, cleaning, and wear measurement, helping teams catch minor issues before they force unplanned downtime. Altogether, the guide gives manufacturers a practical reference for reducing waste, improving repeatability, and getting more consistent output from their thermoforming die making equipment.
Contact Us
Contact Person: KAELYN LEE
Email: [email protected]
Tel/WhatsApp: +86 15012673758
Website: https://www.china-adewo.com